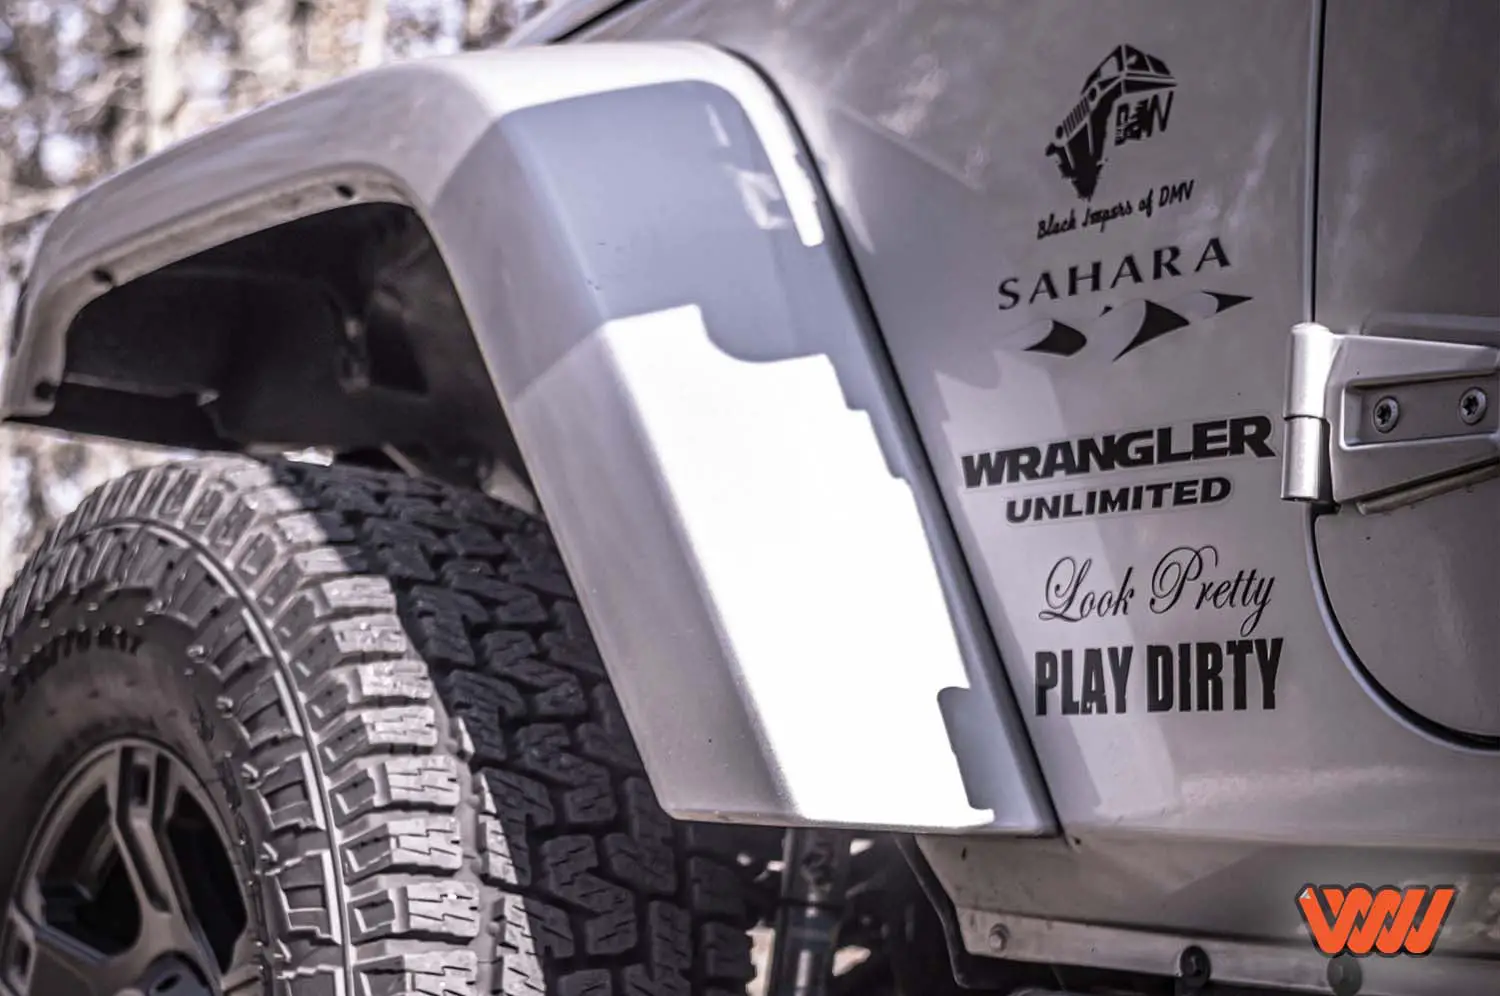
Decals are a great way of business advertisement, and they look great once freshly applied to your car. Unfortunately, over time, the sun, dirt, and debris start degrading the decal quality and color, and you might want to replace or remove it altogether. Not everyone has the time or money to take their vehicle to an expert for decal removal, and while it’s as easy as simply pulling off the sticker, there are risks of damaging the paint underneath the decal.
Here’s 11 easy steps to remove car decals without damaging the paint:
- Prepare all the necessary equipment.
- Wash your hands.
- Wash the decal area with soapy water.
- Dry off the decal.
- Heat the decal area, including all corners.
- Lift corners and peel the decal off using a credit card.
- Scrape excess decal off with your credit card.
- Remove the excess glue residue.
- Wash the area once more.
- Dry off the area to prepare for the wax coat.
- Apply the wax coat to protect the newly exposed paint.
With these eleven steps, you can successfully remove all types of decals from your car, although there are some expanded tips and advice on applying each step correctly. Keep reading for a more thorough guide on removing car decals without damaging the paint.
1. Prepare All the Necessary Equipment
Having the correct equipment can make a world of difference. Preparation saves you a lot of time and lessens the likelihood of something going wrong during the decal removal process. Start by preparing the following equipment:
Soapy Water
Before proceeding to the sticker removal process, prevent damage to the paint on your vehicle and wash away all dirt, debris, and dust. Prepare a bucket with hot soapy water in it. The hot water will help loosen the glue underneath the decal.
Microfiber Towel
Drying a vehicle with a suitable material is essential to prevent scratches on your car. Microfiber towels are great examples of paint-friendly material; they’re super absorbent and help polish off the look. Other types of material such as cotton bath towels and shammies work as well. Keep your towel clean of debris, and store it on a dirt-free surface; collecting dust on the towel can result in paint scratches.
Heating Tool
A properly functioning heating tool such as a hairdryer is more likely to result in your decals coming off in one piece. If your device needs time to heat up, be sure to set it up i advance, as it’s best to start heating as soon as you wash the sticker. Ultimately, hotter is better.
Credit Card or Other Flat Objects
Never try to remove a sticker from your vehicle with a sharp object like a knife! It almost always goes wrong and leaves your car full of failed attempt scratches. Instead, use a flat item such as a credit card or flat pieces of hard plastic; even rulers work efficiently.
Vinegar/Rubbing Alcohol or Glue Residue Remover
Having a residue remover on hand can help efficiently remove any glue residue left behind by the decals. If this isn’t something you already have on hand, I recommend Goo Gone Goo & Adhesive Remover (available on Amazon.com). It quickly and safely removes sticker residue, leaving behind a pleasant orange scent. You can also use household items such as vegetable oil, vinegar, or rubbing alcohol.
Car Wax
This final step is often overlooked or skipped, but there’s more to it than mere athstetics. By using a standard car wax to finish a sticker removal job, not only will it give your car that extra shiny coat you love, but it’ll also help to protect it from additional scratches in the future.
2. Wash Your Hands
It’s important to wash your hands before starting, especially if you’ve already been tinkering with your car in other ways. It may seem weird since you inevitably get dirty when working with a car, but washing your hands before this can prevent dirt and filth from dirtying the sticky decal area.
3. Wash the Decal Area With Soapy Water
Start by soaking your sponge in the soapy water and saturating the sticker with it. Wash away all debris and dirt that might scratch the paint during sticker removal. Wash a larger area than necessary to prevent the dust and dirt from just transferring back to the decal.
4. Dry Off the Decal
Dry the area with your towel to remove excess moisture to prep the area for the next step. Don’t rub the area harshly, for it can create fine scratches; instead, try patting the area dry. Patting prevents the left-behind dust from moving and damaging your car.
5. Heat the Decal Area, Including All Corners
Once the area is dry, use a long extension cord to ensure that the hairdryer reaches the car. Set the hairdryer on the highest setting to ensure maximum heat and start heating the decals to melt and break down the adhesive. Make sure to heat the whole sticker evenly and get all the nukes and corners. Keep heating the decals for about two minutes to get the best results.
6. Lift Corners and Peel the Decal Off Using a Credit Card
Peeling off the decal is the satisfying part of the whole process. Be sure not to wait too long, for the glue can harden again. Use your credit card to lift all the sticker corners without damaging the paint.
Grab the corner and slowly peel the decal away from the car. If the glue gets too hard, reheat the area again and keep peeling away until the whole sticker comes off.
7. Scrape Excess Decal Off With Your Credit Card
If the tragedy of a sticker tear happens or small bits of the sticker remain behind, there’s no need to panic. Repeat step 5 and ensure the adhesive is heated adequately. When you’re ready, take your credit card and start scraping the bits off, be sure not to be too harsh on the paint.
8. Remove the Excess Glue Residue
After removing the sticker, you’ll notice sticky glue residue on the car. If left on the vehicle, it can collect debris and dirt, which is unpleasant for the eye. Take your residue remover, vinegar, alcohol, oil, or Goo Gone, and apply it to the sticky residue. Give the product a few seconds to settle into the glue, and then wipe away the excess residue.
9. Wash the Area Once More
Once all the excess residue is gone, go back and wash over the area once more. This helps to ensure that all residue and dust are gone, and better prepares the area for the finishing steps. If you find any residue remaining, repeat the previous steps to remove before continuing.
10. Dry Off the Area To Prepare for the Wax Coat
When you finish washing the area for the last time, use a fiber cloth or soft towel and dry off the area by patting in a circular motion. Should any overlooked residue still remain, this will help you find it. Be sure to take the time to thoroughly dry the area, as this step also prepares your vehicle for a beneficial wax coat.
11. Apply the Wax Coat To Protect the Newly Exposed Paint
With the decal off, your car’s paint is now exposed in that area and requires protection. And what better way to protect it than a nice coat of car wax. Simply apply your favorite wax according to the product instructions, viola! You can now sit back and enjoy the fresh look of your vehicle.
Photo altered by wrapworthy.com | Photo attribution: Styves Exantus licensed under CC2.0